In this blog post I would like to show you how to convert Physical machine to Virtual machine with MVMC 3.0 which you can download from here. In this version of MVMC we can convert physical machine to virtual machine, other features are more or less the same.
New features in MVMC 3.0
The 3.0 release of MVMC adds the ability to convert a physical computer running Windows Server 2008 or above server operating systems or Windows Vista or above client operating systems to a virtual machine running on Hyper-V host.
Here you can read about standard features in MVMC.
Make sure you have the following pre-requisite on the computer on which you want to run MVMC and they are as follows:
1. Windows Server 2012 R2, Windows Server 2012, or Windows Server 2008 R2 SP1 operating systems.
2. Microsoft .NET Framework 3.5 and .NET Framework 4 if you install MVMC on Windows Server 2008 R2 SP1
3. Microsoft .NET Framework 4.5 if you install MVMC on Windows Server 2012 R2, Windows Server 2012, or Windows 8.
4. Visual C++® Redistributable for Visual Studio® 2012 Update 1
5. Enable the Background Intelligent Transfer Service (BITS) feature in Windows Server.
6. Enable Hyper-V on the destination host
NOTE: If you don’t enable features mentioned above will get this error: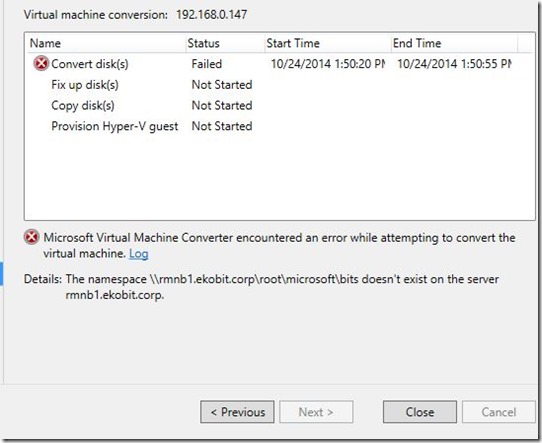
From the one side I have Physical machine with Windows Server 2012R2 installed on it, and from the other side I have Hyper-V host.
Here is a pictures guide how to convert ;)
Start MVMC and click Next
On the next screen choose Physical machine conversion
Enter the name or IP address and credentials of your physical machine under the Source then go ahead
Click on Scan System to see system information


Here we can see Volume Configuration
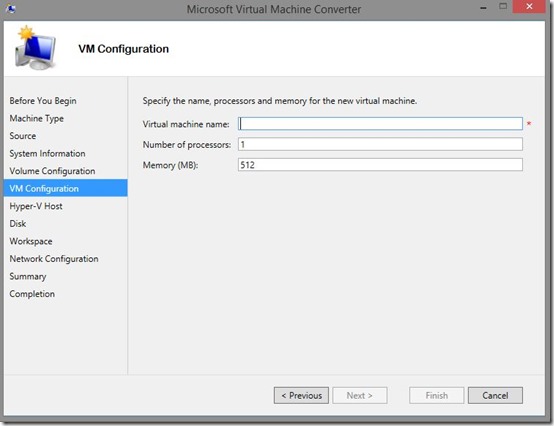
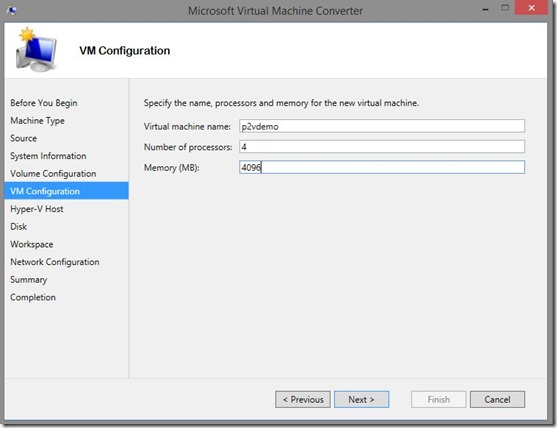
On the next step we need to enter Virtual machine name, number of processors and Memory
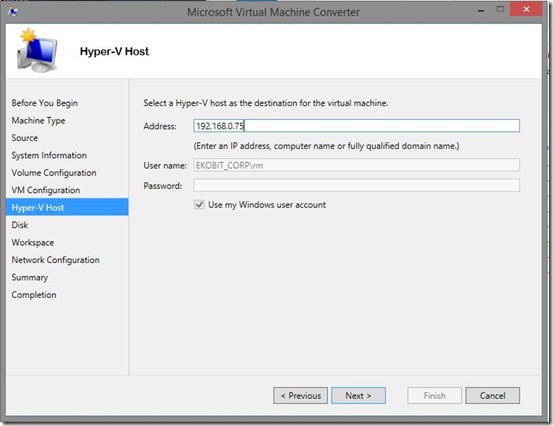
Here we need to fill Hyper-V host information
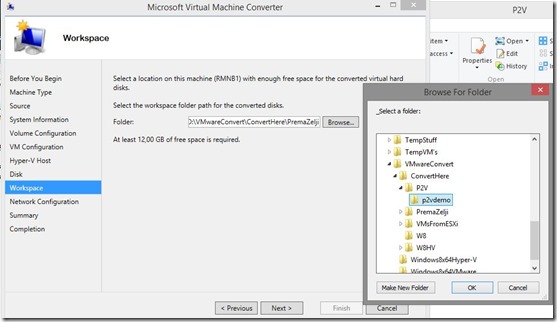
Then we need to choose virtual machine and workspace location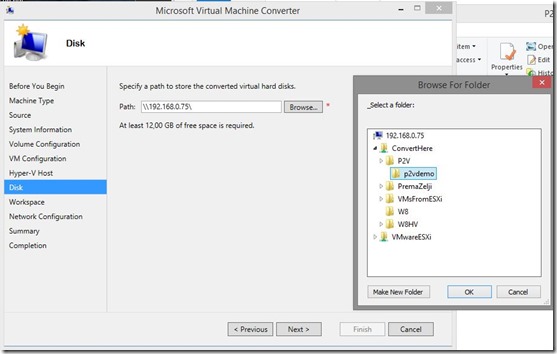
At the end of the wizard we can see Summary and click on Finish to start conversion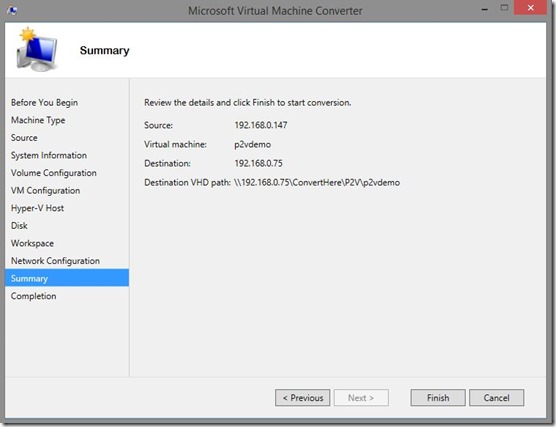
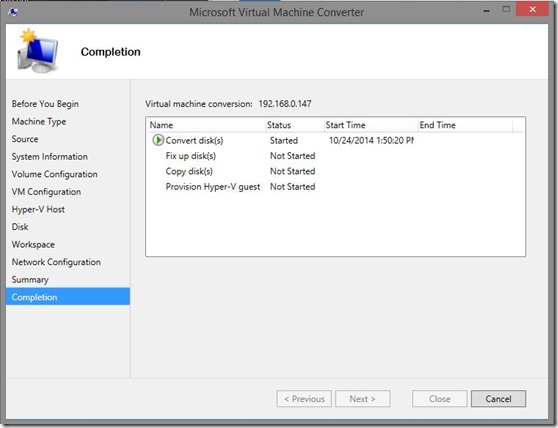
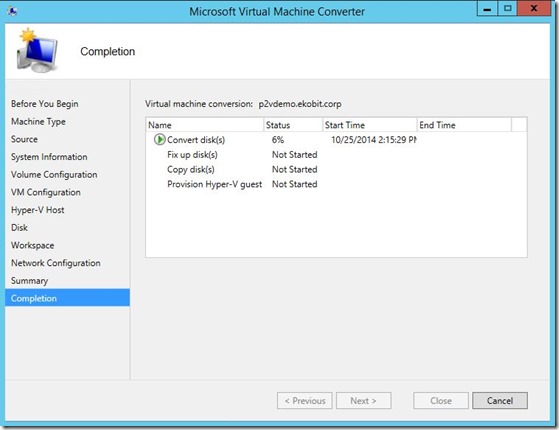
At the end of the conversion process you can see converted machine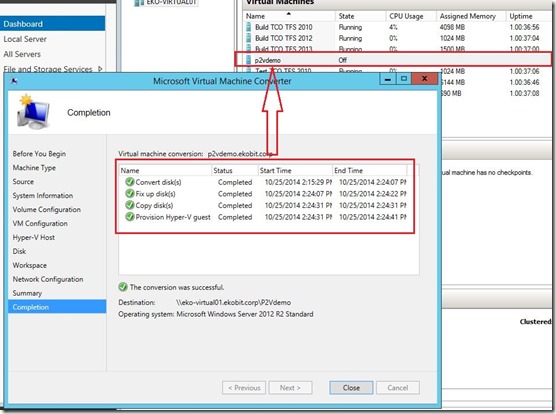
Enjoy in virtualization :)
Cheers,
Romeo


