Hi there,
I’d like to show you how I have been creating the small datacenter on my laptop. Thanks to Hyper-V nested virtualization, now I can run Hyper-V Cluster inside my laptop and can try all new features and the most important, I can troubleshoot without to affecting production environment.
I have three SSDs, 32GB of ram, i7 CPU and Windows 10 build 10586 installed.


The scenario is as follows:
1. Hyper-V hosts runs on Windows Server 2016 TP4
2. Set Hyper-V hosts in a separate network segment.
3. Install virtual machine with Remote Access role [Internet access for the VMs] I’ll write about this configuration in my next post…
2. Install of Hyper-V Cluster with four nodes. [for Storage Spaces Direct]
3. Create an Active Directory domain for the future lab
Setup environment on the laptop
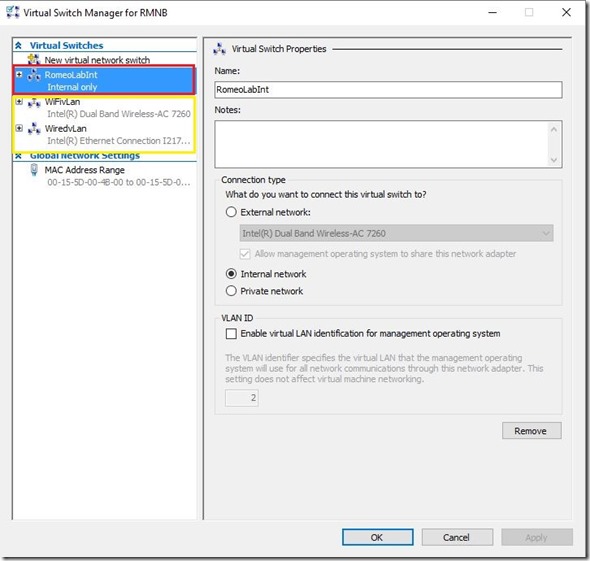
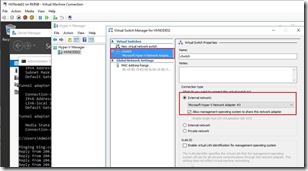
After Hyper-V role installed I set virtual network adapters. On the pictures below you can see two of virtual networks, two External networks and one Internal network.

External network will use for internet access and internal network will use for the lab environment only, but still, virtual machines from the internal network will be able to go on the internet because of router between external and internal network. In the next blog post I’ll write about how to setup Remote Access role in Windows Server 2016 TP4
Create virtual machines and enable Nested virtualization
As you can see I created five virtual machines, one called Router and four Hyper-V nodes
Router virtual machine has a 2GB of ram (dynamic memory), 1CPU and small dynamically expanding virtual disk, but the Hyper-V nodes have 4-6GB of ram, 4CPUs and 100GB of virtual disk. Why I mentioned Hyper-V hardware resources? Because this is very important!
To enable Nested Virtualization in Hyper-V, Microsoft created a script you can use or you can do it manually following this steps:
- Disable Dynamic Memory on every Virtual Machine on which you want run nested virtualization
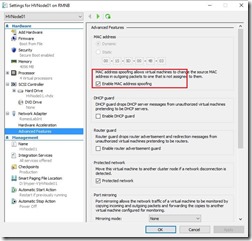
- Enable MAC Address Spoofing
- Set minimum of 4GB RAM per virtual machine
- Enable Virtualization Extensions on the vCPU
To set the Virtualization Extension for the vCPU use PowerShell command:
Set-VMProcessor -VMName “Hyper-V host name” -ExposeVirtualizationExtensions $true

Hyper-V nested virtualization has some limitations!
More about Hyper-V nested virtualization you can read on Thomas Maurer blog.


Now we are ready to install Hyper-V role on the Virtual Machines in the environment. You can install Hyper-V role through GUI or PowerShell, your choice. If you like GUI go to Server Manager –> Add Roles and Features and follow the wizard. If you prefer PowerShell, open PowerShell in elevated mode and run:
Install-WindowsFeature –Name Hyper-V -ComputerName <computer_name> -IncludeManagementTools -Restart
After server restart we have Hyper-V role installed and we are almost ready to go. I recommend setting default location for Virtual Machines configuration files and VHDXs as well. In this case I’ll put VMs in C:\\Hyper-V folder, than will setup virtual network.


I did the same on every virtual Hyper-V host in my environment!
Now we are initially prepared. The next step is “Router” installation. That will be virtual machine with Remote Access role installed as I mentioned above.
Until next post stay tuned 
Cheers,
Romeo


![]()


