After few turbulent weeks and rehabilitation I finally have a time to write blog post. For the beginning of “my new life” and my second birthday this will be an “light” post  . For those how don’t know, before eleven days ago I had two heart attacks in one day, luckily without injuries.
So, let’s begin. In this blog post I would like to explain how to convert .vhd to .vhdx with Hyper-V manager in Windows 8.
First, few things about what is .vhdx I what benefits we get.
VHDX is new virtual hard disk format in WS 2012 and Windows 8. In many ways, VHDX disks offer superior performance, capacity and reliability over Hyper-V’s legacy Virtual Hard Disks.
With the VHDX format we able to create much larger virtual hard disks. Old Hyper-V had a 2 TB limit to VHD’s, but VHDX files have up to a 64 TB capacity. Also, protection against data corruption during power failures my logging updates to the VHDX metadata structures as well as improved alignment of the virtual hard disk format to work well on large sector disks.
The VHDX format also provides the few more features such as; large block sizes for dynamic and differencing disks, which allows these disks to attune to the needs of the workload. The ability to store custom metadata about the file that the user might want to record, like operating system version or patches applied, and so on…
Many of us have virtual machines created with old Hyper-V and if we want to use the new features, we need convert .vhd to .vhdx.
How to do that? This is very simple process and we have two ways to doing that. Over Hyper-V manager GUI and with PowerShell.
Convert .vhd to .vhdx with Hyper-V manager GUI:
Step 1.

Step 2.

Step 3.

Step 4.

Step 5.

Step 6.

Step 7.
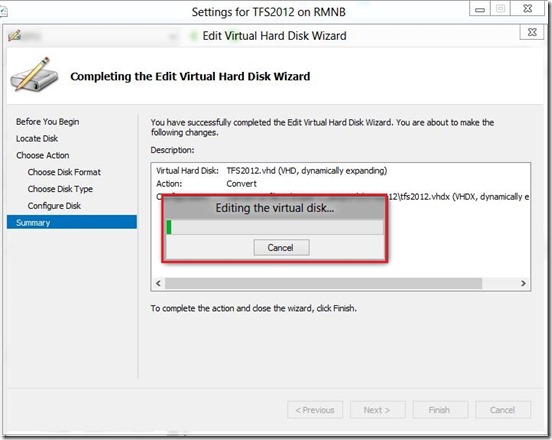
And after few simple steps we have converted .vhdx.

Convert .vhd to .vhdx with PoweShell:
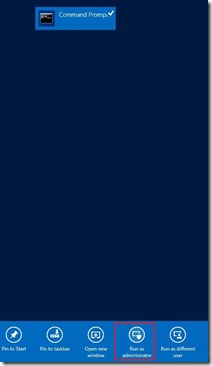
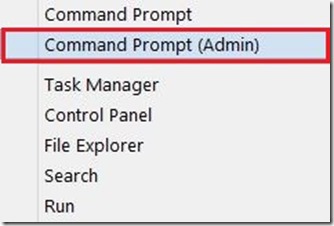
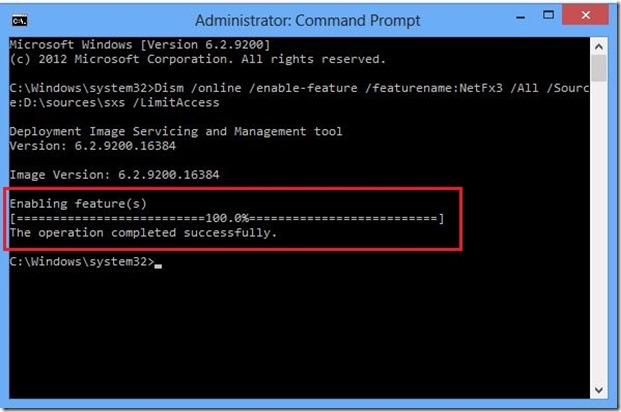
If you prefer PowerShell follow this few steps. Open PowerShell as Administrator and enter few commands like in pictures below.


Enjoy in the new .vhdx features and benefits.
NOTE: You can convert a VHDX to a VHD. But keep in mind and make sure that the VHDX is not bigger than 2TB.
Also, keep in mind that the virtual hard disk will be unavailable during the conversion process. It will create a new virtual hard disk file and delete the old one. As such, you will need enough physical disk space to temporarily accommodate two copies of the virtual hard disk that you are converting.
You can read more about how to convert VHD to VHDX on the links below
Aviraj Ajgekar
Thomas Maurer
Quote from the Petri by Aidan Finn (http://www.petri.co.il/convert-vhd-file-into-vhdx-file.htm#)
“There is one more step that you might consider: When you create a new VHDX file (not converted) it has a physical sector size of 4 K. A converted VHDX file has a physical sector size of 512 Bytes. You can change the physical sector size of a converted VHDX by running this piece of PowerShell before you power up the virtual machine:
set-vhd d:\VM01\Disk0.vhdx -PhysicalSectorSizeBytes 4096
Now you have a virtual machine that is using the best kind of virtual machine storage, the VHDX format virtual hard disk.”
Enjoy in Virtualization 

