I believe in Hyper-V!

VirtualizationCategory Archives

Microsoft MVP (Virtual Machine) Award second time in a row

Microsoft awarded me second time with prestigious award, MVP for Virtual Machine. Like last year I’m happy and proud for that :). Also, this award gives me stimulation to do what I do even more harder and better then before!
Thank you Microsoft for this great MVP Award and I’m proud to be a part of this prestigious community!
 MVP_Horizontal_FullColor
I want to say THANK YOU everyone who support me on the way to this award, especially thanks to people without this would not be possible: To my MVP lead Yulia Belyanina, Maria Terzi, Ben Armstrong, Alessandro Teglia, Microsoft Croatia, MVP Community, Microsoft Community Croatia and BiH, Ekobit… Big thanks to my friends and colleagues Marin Franković, Tomica Kaniški, Luka Manojlović, Ivan Kardum, Toni Petrina, Ognjen Bajić, Adis Jugo, Igor Pavleković, Robert Petrunić, Draško Ivanišević, Tomislav Tipurić, Enis Šahinović, David Hodap and many, many others… sorry if I forget someone.

Let’s back to work ;)
Windows Server 2012 R2 Preview – boot from VHDX

In one of my latest posts I wrote how to install Hyper-V role inside virtual machine. Very often I need that scenario for demos. Disadvantage of that scenario is what can’t run virtual machine inside virtual machine. So, now I can’t avoid that and need “server on metal”! I decided to install Windows Server 2012 R2 Preview on my laptop but I wanted to do boot from VHDX. What is the advantages when we have boot from VHDX? You can run it on every hardware whenever you want. You don’t need to do installation from the beginning, easy migration etc.

Let’s back to the point!

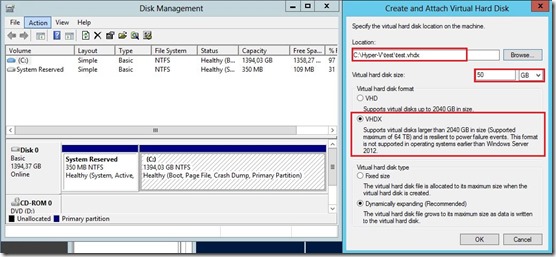
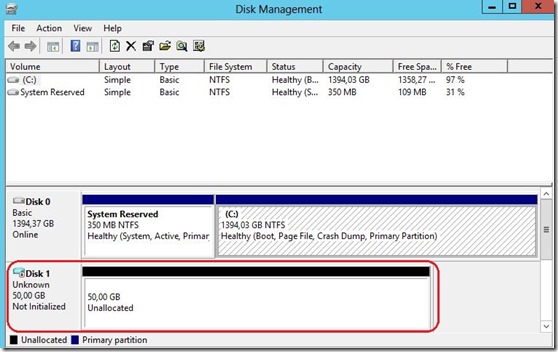
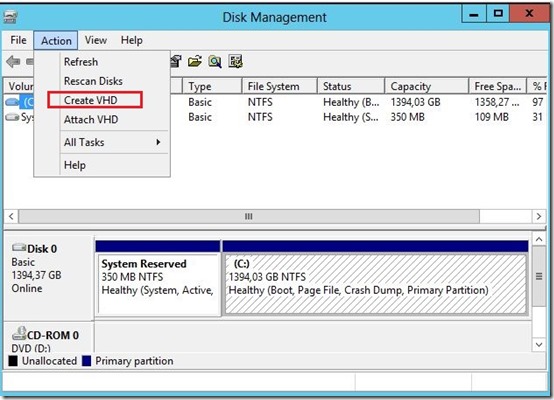
Open Disk Management and Create VHD(X) 1a
2a 3a

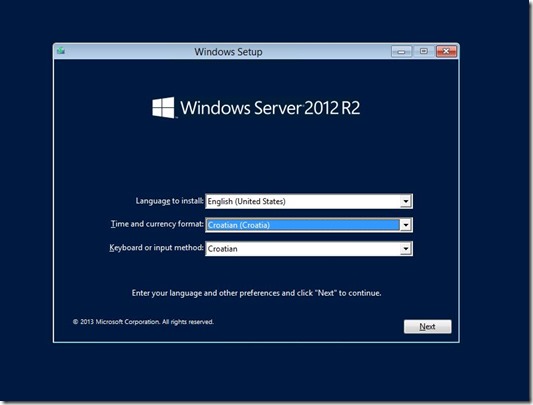
Prepare bootable media with WS2012 R2 Preview. You can use DVD or USB. I have chosen USB created with WINDOWS 7 USB/DVD DOWNLOAD TOOL. Boot laptop/PC from bootable media. When the Windows screen appears choose Language, Time format and keyboard input method then press Next.
2

Keep in mind that we are not ready to install WS2012R2 Preview yet, you must first access your VHDX. When next window appear (Picture below) press Shift+F10 to open Administrator Command Prompt3

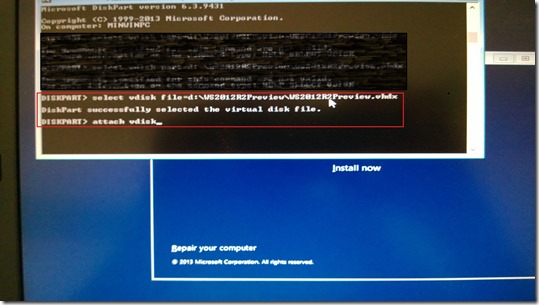
Type the commands: diskpart press Enter
select vdisk part=d:\WS2012R2Preview\WS2012Preview.vhdx press Enter
attach vdisk press Enter
WP_20130819_004

Click Install now and on the next screen click Custom: Install Windows only (advanced)
5 

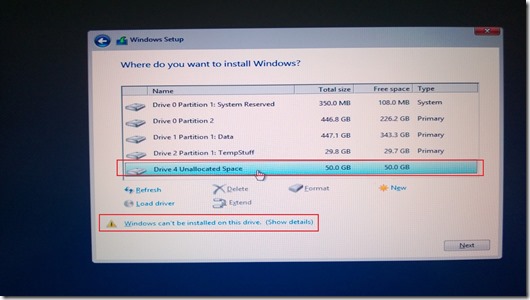
Choose previously created VHDX, ignore warning Windows can’t be installed on this drive. (Show detail) and click on Next.
WP_20130819_006

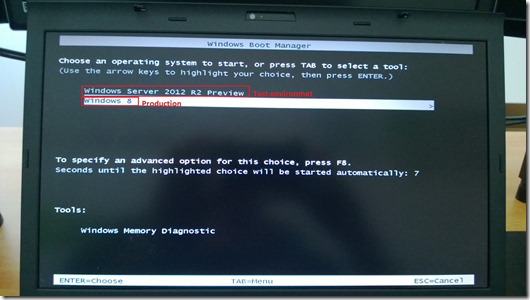
Install Windows Server 2012 R2 Preview as usual! After that, in boot process you can choose which OS you want use.
WP_20130819_007

Now I can leave my laptop at work and go home only with newly created VDHX and can attach to home PC :D. I’m joking :). My laptop is always with me ;)

Enjoy the day!

Delete obsolete virtual networks with dependency in VMM 2012 SP1

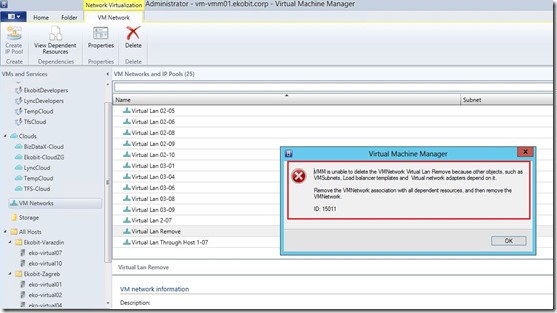
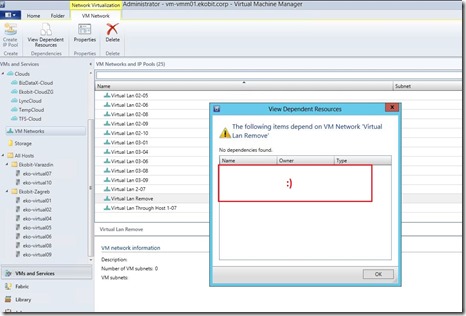
Few days ago I modified network settings on one of Hyper-V hosts and also migrated two of VMs to another Hyper-V host. After VMs migration and changed network settings on the Hyper-V everything has been working like a charm! After I do that, on the Virtual Machine Manager I noticed that two network adapters are still there regardless of what no longer exist in Hyper-V host. That isn’t a problem, right click on VM Network and Logical Networks, and that’s it, but…!? When I tried to delete obsolete virtual network got error that have dependent resources on that VM Network like in the picture below.

Blog4

In other words; when I migrate VMs from one Hyper-V host to another VMM didn’t “release” VMs from VM Networks. I’m sure that everything what I done, I did in the right way!
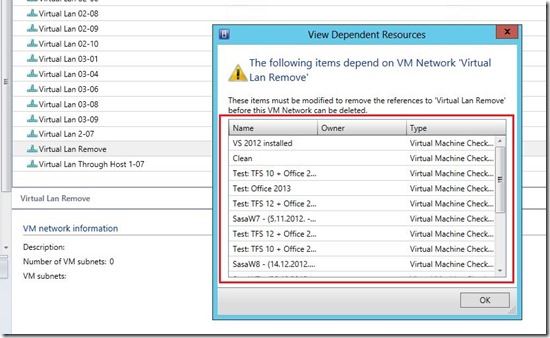
When opened View Dependent Resources I saw two migrated VMs and connected checkpoints.

Blog3

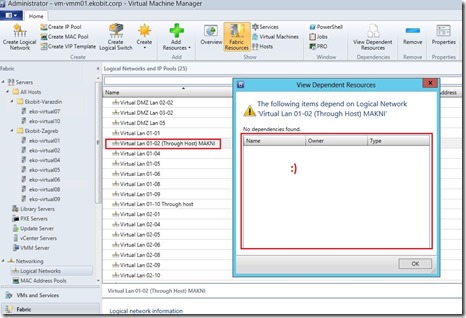
The same dependencies are on the Logical Networks

2

In the next couple of hours I tried to figure out how to solve the problem! In the pictures below is few examples what I tried to do.

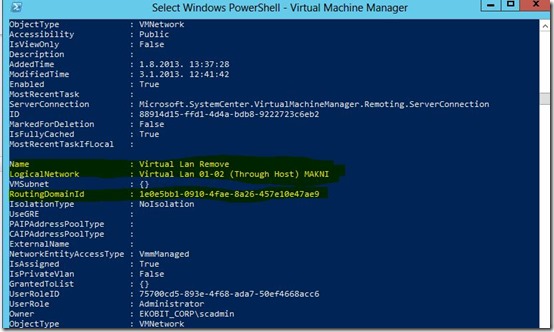
Tried to delete through PowerShell.

VMnetwork

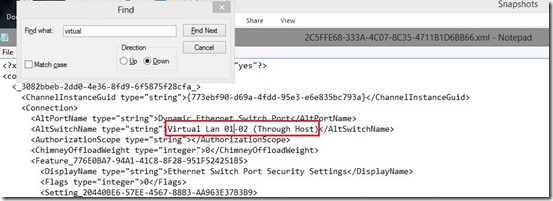
Tried to change all .xml configuration file related to VMs

Blog1

At the end, what did I do? It’s simple but it’s manual work!

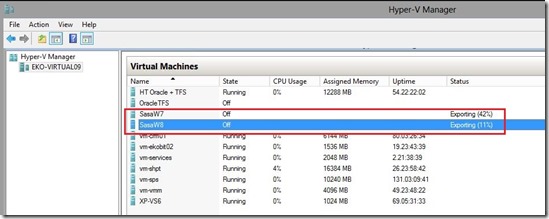
Step 1

Export VMs

Blog2

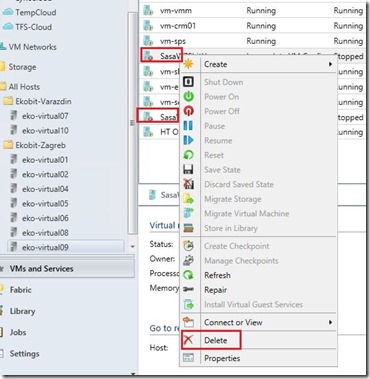
Step 2

Delete exported VMs through Virtual Machine Manager

deleteVm

Step 3

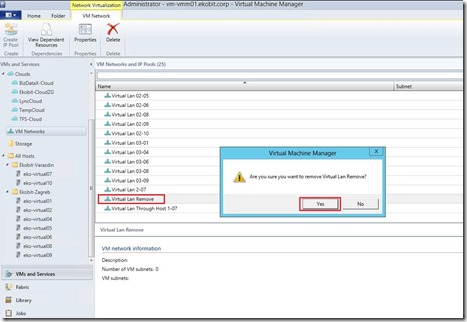
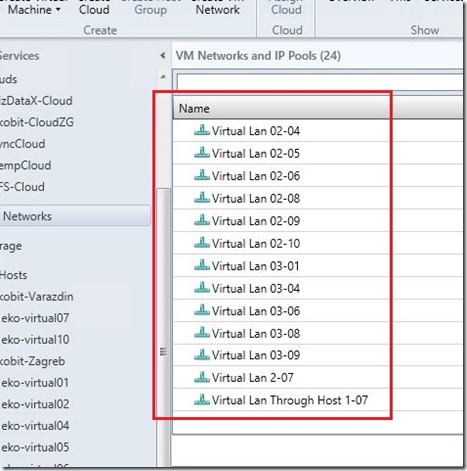
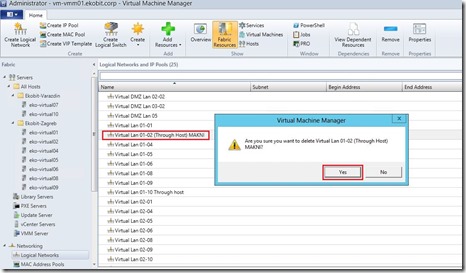
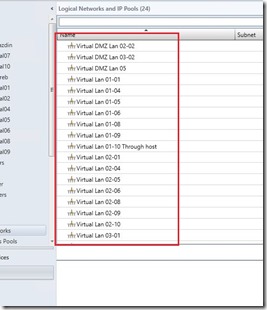
Remove Virtual Network from the VM Networks and from the Logical Networks

Blog5
Blog6
Blog7
Blog8
Blog9
Blog10

Step 4

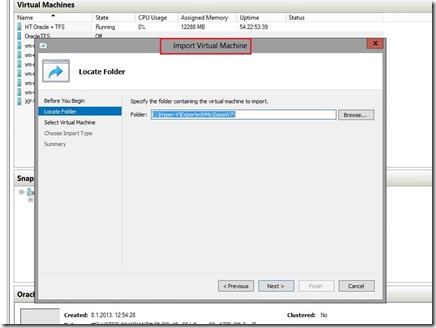
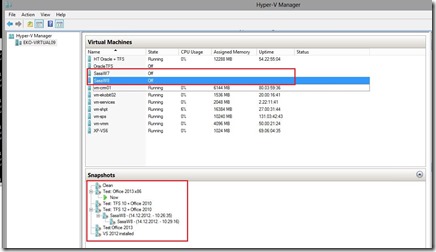
Import VMs

Blog11

Blog12

We are done!

Enjoy in day ;)

Romeo