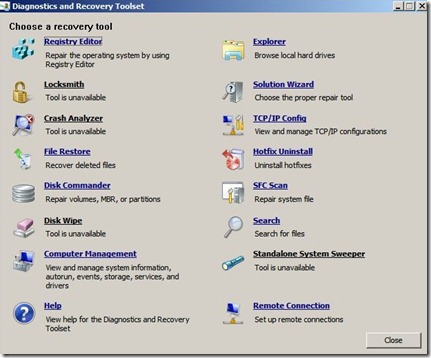
Deploying the DaRT image in a recovery partition to each PC means you always have the right DaRT image when you need it for each PC. That means if you have Windows 7 x64 you need DaRT image created only for Windows 7 x64. DaRT can be placed in its own partition or over the top of the WinRE recovery partition for F8.
In this post I would like to describe how to manually deploy DaRT image to the Boot Menu on your PC’s or laptops. As always I will describe entire procedure through lots of pictures.
This is a very simple procedure, and I hope it will help someone.
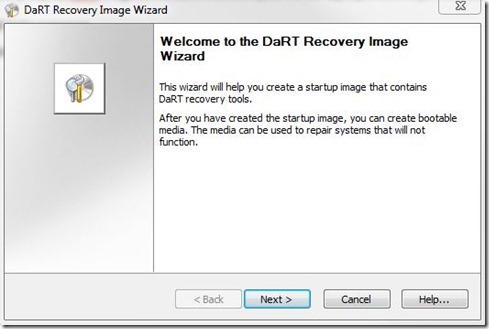
First of all create your DaRT ISO image with the desired settings and files.
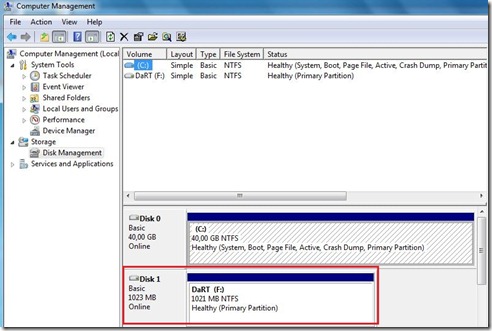
Create a partition on the target PC equal to or greater than the size of your DaRT ISO. The size of the DaRT ISO has approximately 210 MB for Windows 7.
In my scenario, I created \F: partition with 1GB size.
Extract the files from the DaRT ISO and copy them to your target partition, also on the target partition create folder named Windows\System32 and from C:\Windows\System32 copy winlogon.exe to that folder. Just like on the pictures below.
OK, now follows the most important part!
Create script with relevant command line. In my scenario follow the script described below.
bcdedit /create {ramdiskoptions} /d “IT Pro UG DaRT Demo”
bcdedit /set {ramdiskoptions} ramdisksdidevice partition=F:
bcdedit /set {ramdiskoptions} ramdisksdipath \boot\boot.sdi
bcdedit /create /d “IT Pro UG DaRT Demo” /application OSLOADER –>Record the GUID returned from this command
bcdedit /set {GUID} device ramdisk=[F:]\sources\boot.wim,{ramdiskoptions}
bcdedit /set {GUID} path \windows\system32\winload.exe
bcdedit /set {GUID} osdevice ramdisk=[F:]\sources\boot.wim,{ramdiskoptions}
bcdedit /set {GUID} systemroot \windows
bcdedit /set {GUID} winpe yes
bcdedit /set {GUID} detecthal yes
bcdedit /displayorder {GUID} /addlast
bcdedit /timeout 20
Type the script in notepad and save it as “DaRT.bat”. This is an automated script.
If you want to run script manually open command prompt and type command lines described below.
bcdedit /copy {current} /d “IT Pro UG Dart Demo”
bcdedit /set {GUID} device vhd=[G:]\sources\boot.wim
bcdedit /set {GUID} osdevice vhd=[G:]\sources\boot.wim
bcdedit /set {GUID} detecthal on
bcdedit /timeout 20
If you want to know more about how to configure Boot Configuration Data follow this link.
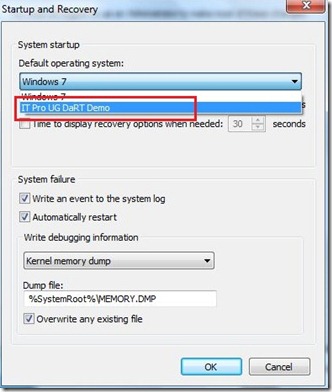
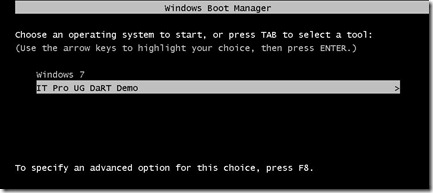
At the end you have new boot entry on your PC or laptop.
If you need repair your or users PC’s or laptops, restart the machine end boot from your newly created recovery partition.
In rare support scenarios where the hard drive is severely damaged (eg. MBR failure), booting from the hard drive image of DaRT is not an option and a CD/DVD or USB will need to be used.
In one of the following posts I will describe how to use a Remote Connection with the DaRT7 and which all features we have for that scenario.
That’s it for today!
