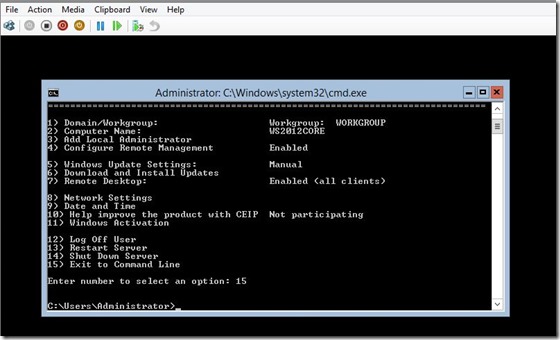
In one of my latest post I wrote about how to install Hyper-V role inside Hyper-V virtual machine. Many of my colleagues asked me, why you do that? Actually, I have two answers. The first is: I don’t have free hardware in my company for testing purposes, and the second is; for my lectures/demos on various conferences when I talk about Hyper-V Replica (not only about Hyper-V Replica). When I have test environment on my laptop I’m pretty sure that demos will work.
So, let’s go back to the title. In one of my demos I need to do Hyper-V Replica between two Hyper-V hosts and you can see step-by-step guide in the pictures and short explanations below.
1. In this test environment I want replicate VM RHV from Hyper-V host called WD2012CORE to Hyper-V host called Hyper-VReplica. The procedure is straight forward, just follow the wizard :). Select VM which you wont replicate and select Enable Replication.
Choose on which Hyper-V host you want replicate your VM’s. As I mention before, I replicate from WS2012CORE to Hyper-VReplica Hyper-V host.
Under the Specify Connection Parameters tab can choose Authentication Type. Be default wizard offers us Kerberos authentication (HTTP), but we can use certificate-based authentication (HTTPS) if we wont secure transmission between Hyper-V hosts. Of course, if you want use certificate based authentication need to have certificate. But considering that this is test environment I chose Kerberos authentication.
On the next tab select virtual disk location and click Next
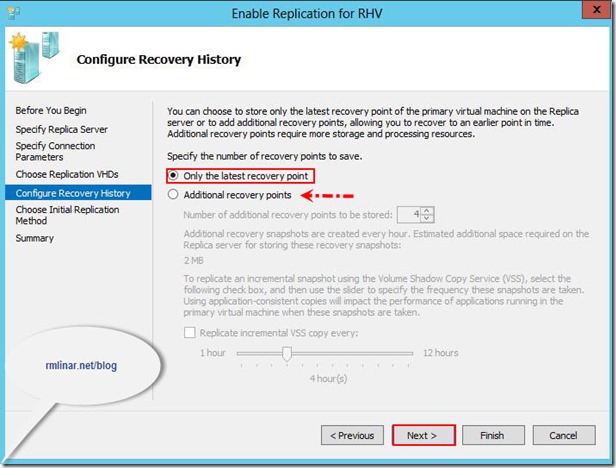
In my case I chose option Only the latest recovery point, but in production environment we need to have another plan, depends of your needs.
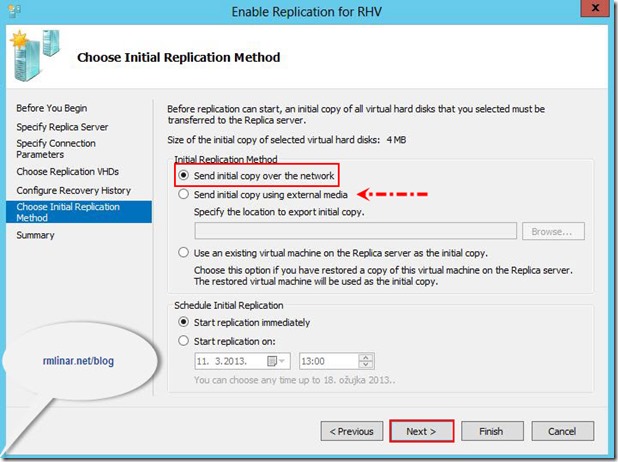
When you go to Choose Initial Replication Method can choose three ways how want to transfer initial copy to Hyper-V Replica server. In my case I chose option Send initial copy over the network. For my production environment is very interesting to use option Send initial copy using external media. Why this is a good solution? For example; if have very big virtual machines (I mean on big capacity) than you can send initial copy on an external media (external HDD) and take it to a remote location. In this case, does not overload the network resources if you have slow connection between two locations, like I have.
At the end check parameters on Summary and click Finish.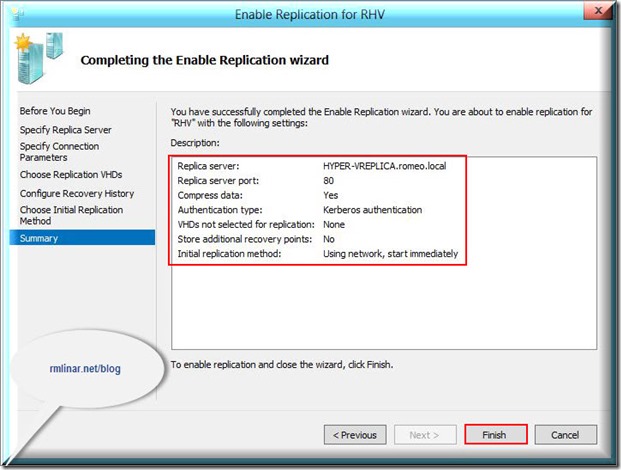
Log on Hyper-V Replica server and will see your replicated Hyper-V virtual machine.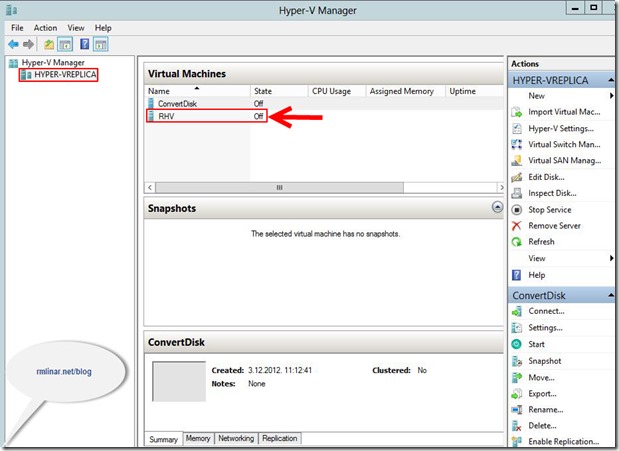
If you want to check replica status right click on VM and you will be see Replication Health for replicated VM.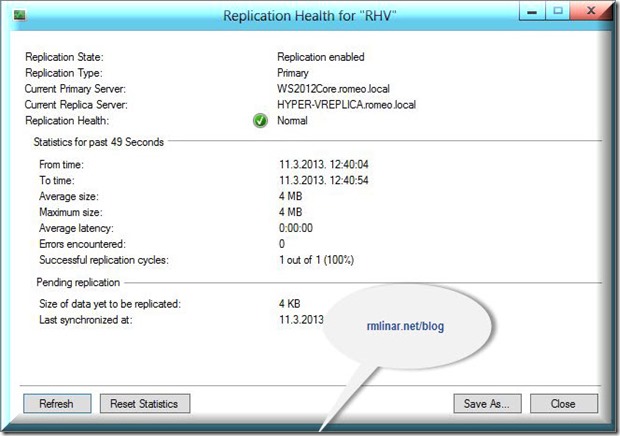
All above we do through GUI, but I like do that with PowerShell. So, how to replicate VM with PowerShell from Hyper-V host to Hyper-V Replica server you can see below.
PowerShell 3.0 includes 22 Cmdlets for configuring, enabling, monitoring, and managing Hyper-V Replica on an automated basis. This time I’ll be just write PS script for above mentioned example. I one of my next blog post I’ll be describe how to use PowerShell for Hyper-V Replica step-by-step.
So, in this example I replicate virtual machine WinDays13 from Hyper-V host WS2012CORE to Hyper-V host Hyper-V Replica. First I need to enable Hyper-V Replica on Hyper-V host.
And the second I need to enable replication for virtual machine.
Voila! VM WinDays13 is replicated.
At the end of this article I’d like to mention one very important thing! Hyper-V Replica isn’t BACKUP! We use Hyper-V Replica for a DISASTER RECOVERY.
It’s Monday, let’s get to work.
Cheers,
Romeo.


